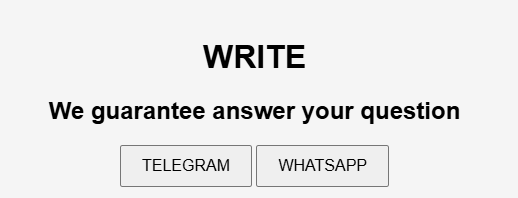
Technical support is available on WhatsApp and Telegram.
The goal of the widget is to respond to the client in chat and provide important business information.
The “IQGPT” widget is an effective tool for client engagement. It automatically responds to the company’s clients based on predefined criteria using the ChatGPT neural network.
How does the widget work?
When a message arrives, the widget records the ChatGPT response in a field based on predefined criteria that you specify. You can send this field to the user, make a note, etc.
Functionality:
Supports all languages. You can use “Promt” in any language
Generate structured notes or cards that can be added to the CRM system for each deal or client.
Determining the emotional tone of the message (positive, neutral, negative), identifying conflicting or problematic topics.
Identifying the main goals and objectives of the interlocutor (for example, a purchase, a request for additional information, a complaint, a question about a warranty, etc.).
Detailed statistics on used tokens, current balance and transaction costs.
An intuitive interface and wide functionality make the widget an indispensable assistant in sales. In this guide, we will tell you how to properly configure IQGPT and use the resulting analytical data to increase your sales effectiveness.
Installation and configuration instructions.
Find the IQGPT widget in the Integrations section
After installation, you will have the IQGPT setting, go to it

General view of IQGPT settings

Widget setup
Top up your balance
Your account id, balance and “Top up balance” button

Display of all transactions: date, time, number of tokens sent and received, total amount debited from your account

Also, if you have any questions, you can always contact support and get help in solving the problem
SALESBOT settings

Go to “Communications tools”, then create a new or change your “SALESBOT”

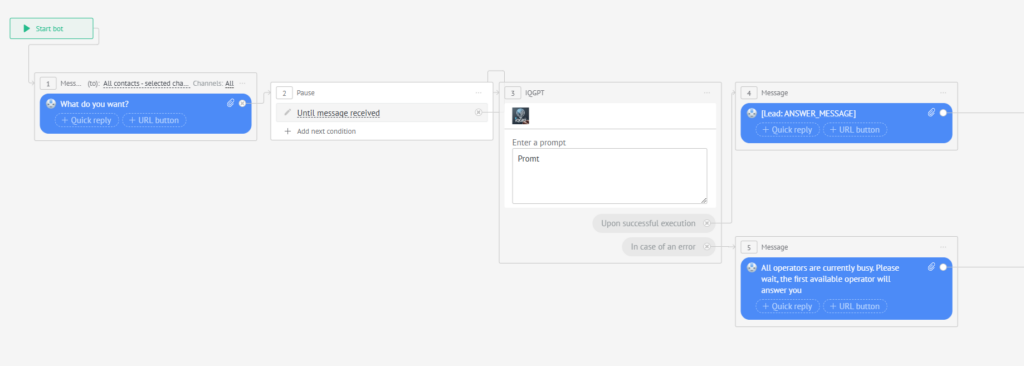
SALESBOT structure
An example of a SALESBOT structure for working with a widget:
- Click “Message”
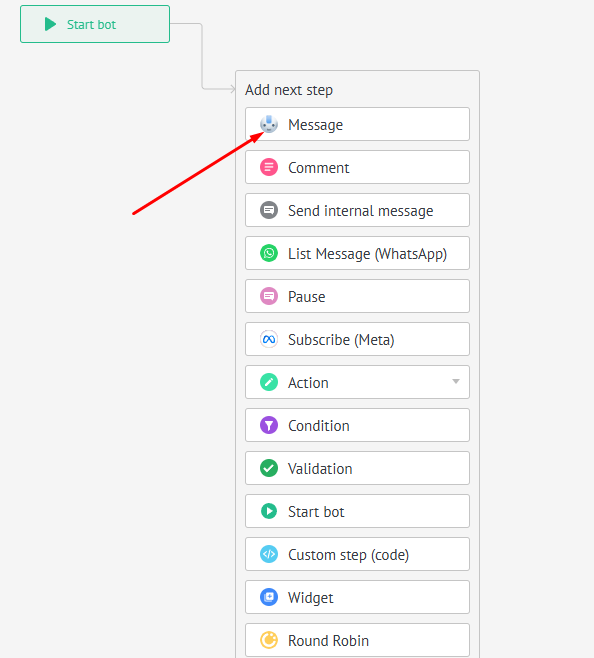
Enter your text
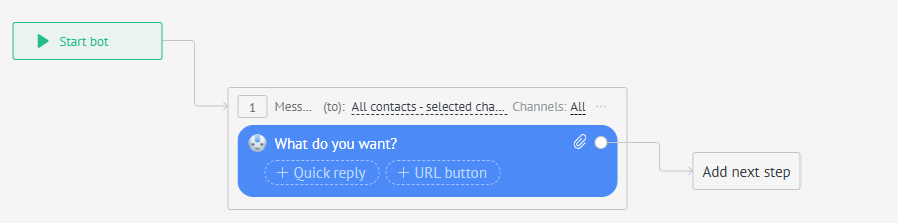
2) Click “Add next step” and select “Pause”

Check the box “Untill message received”

3) Click “Add next step” and select “Widget”
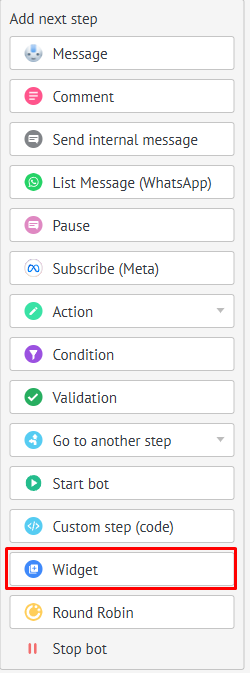
In the window that opens, select the widget

Write your “Promt”

Click “Uppon successful execution” “Add next step”
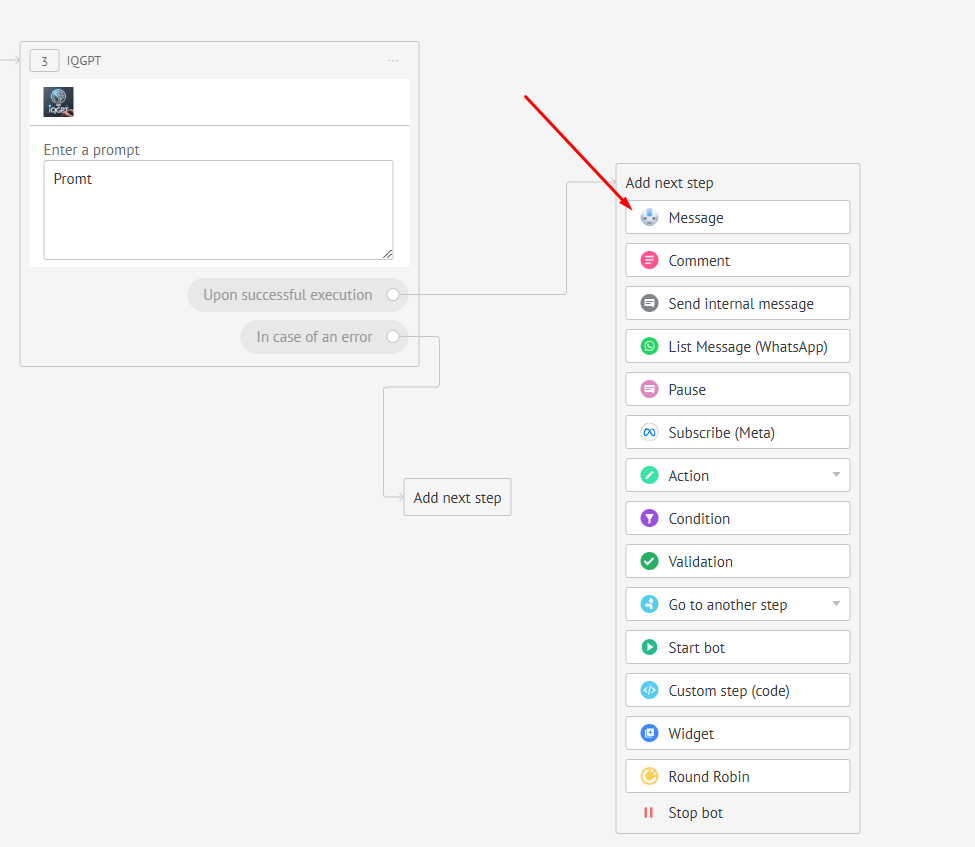
Write:
[Lead: ANSWER_MESSAGE]

Similarly, Click “If case of an error” “Add next step” and write your text.
For example: “All operators are currently busy. Please wait, the first available operator will answer you”
View of a configured SALESBOT
SALESBOT connection
Go to “Leads”, then to “AUTOMATE”
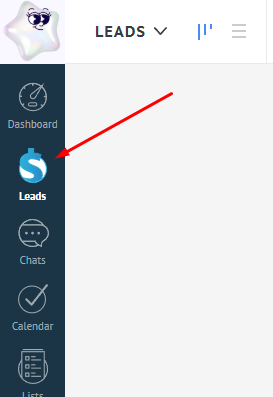

Add the configured SALESBOT to the stage

Result
